Setting Up GitHub on Windows Without the Command Line


Introduction
GitHub is one of the most widely used source control platforms in the world. Acquired by Microsoft in 2018, it allows developers and teams to store, share, and collaborate on code and other project files with people around the globe.
Beyond public collaboration, GitHub also supports private repositories, making it a practical tool for internal documentation and code management within organizations.
If you have been wanting to get started with GitHub but feel intimidated by the command line, this guide is for you. We will walk through the entire setup process on Windows using graphical tools only — no terminal commands required.
Choosing a GUI Tool
There are two popular options for working with Git through a graphical interface on Windows:
- GitHub Desktop — GitHub’s official desktop client. It is well-designed and straightforward, though the interface is English-only.
- Git for Windows + TortoiseGit — Requires a bit more setup, but integrates directly into Windows Explorer’s right-click context menu. Language packs are also available for non-English users.
In this guide, we will use Git for Windows + TortoiseGit. The Explorer integration makes everyday operations feel natural, and the right-click workflow is very intuitive for Windows users.
1. GitHub Registration and Repository Creation
First, head to GitHub and create an account. After entering your details, you will receive a confirmation email.
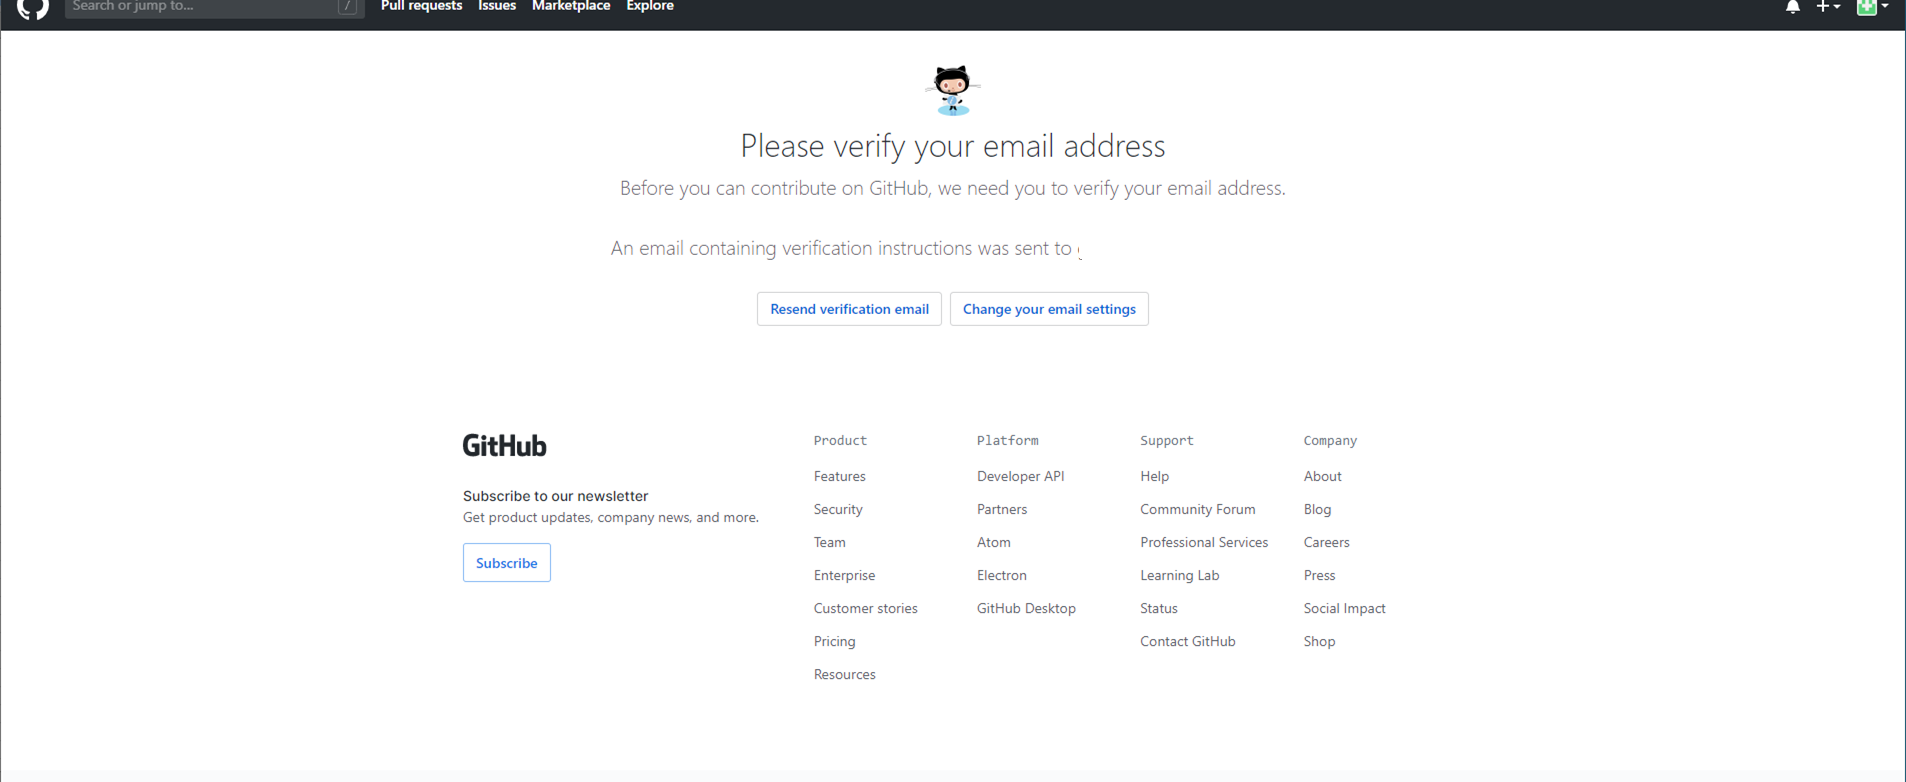
Once your account is verified, click “Create a repository” to set up your first repository.
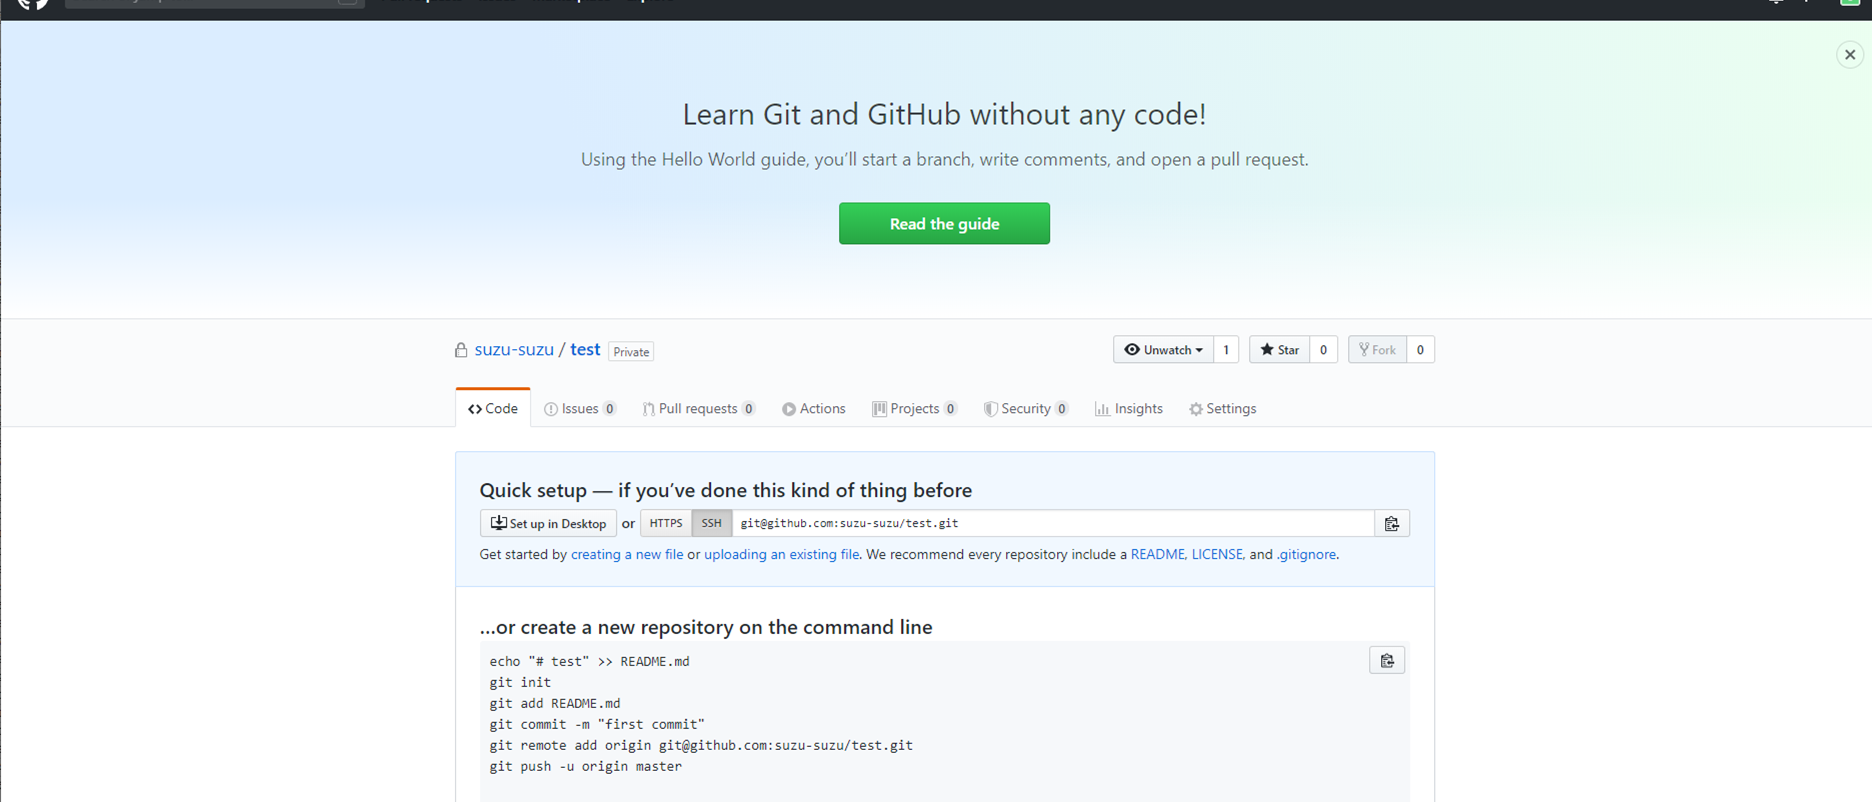
Enter a Repository Name of your choice. You will also see the option to set visibility:
- Public — Anyone on the internet can see this repository.
- Private — Only you and people you explicitly grant access can see it.
You can change this setting later, so do not worry too much about the choice right now.

Once created, you will see your new repository page. Keep this tab open — we will come back to it later.
2. Installing Git for Windows and TortoiseGit
Next, we need to install the tools that let your Windows machine communicate with GitHub.
Git for Windows
Visit the Git for Windows website and click “Download”.
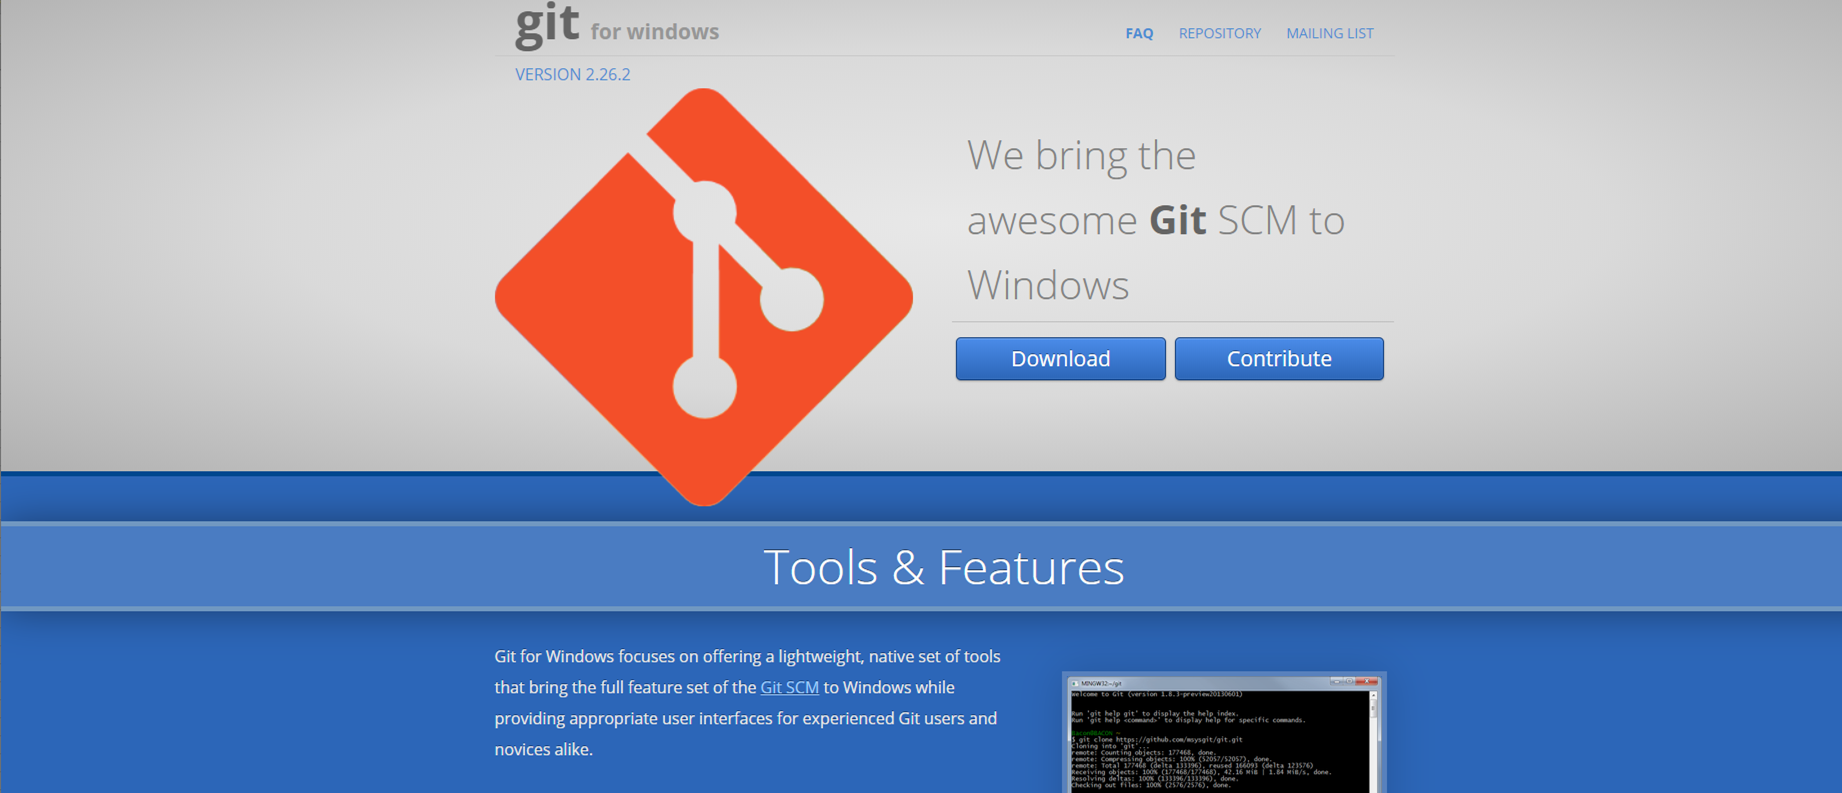
Run the downloaded installer and follow the on-screen prompts. The default settings work well for most users — you can click through without changing anything.
TortoiseGit
Visit the TortoiseGit download page and select either the 32-bit or 64-bit version to match your system.
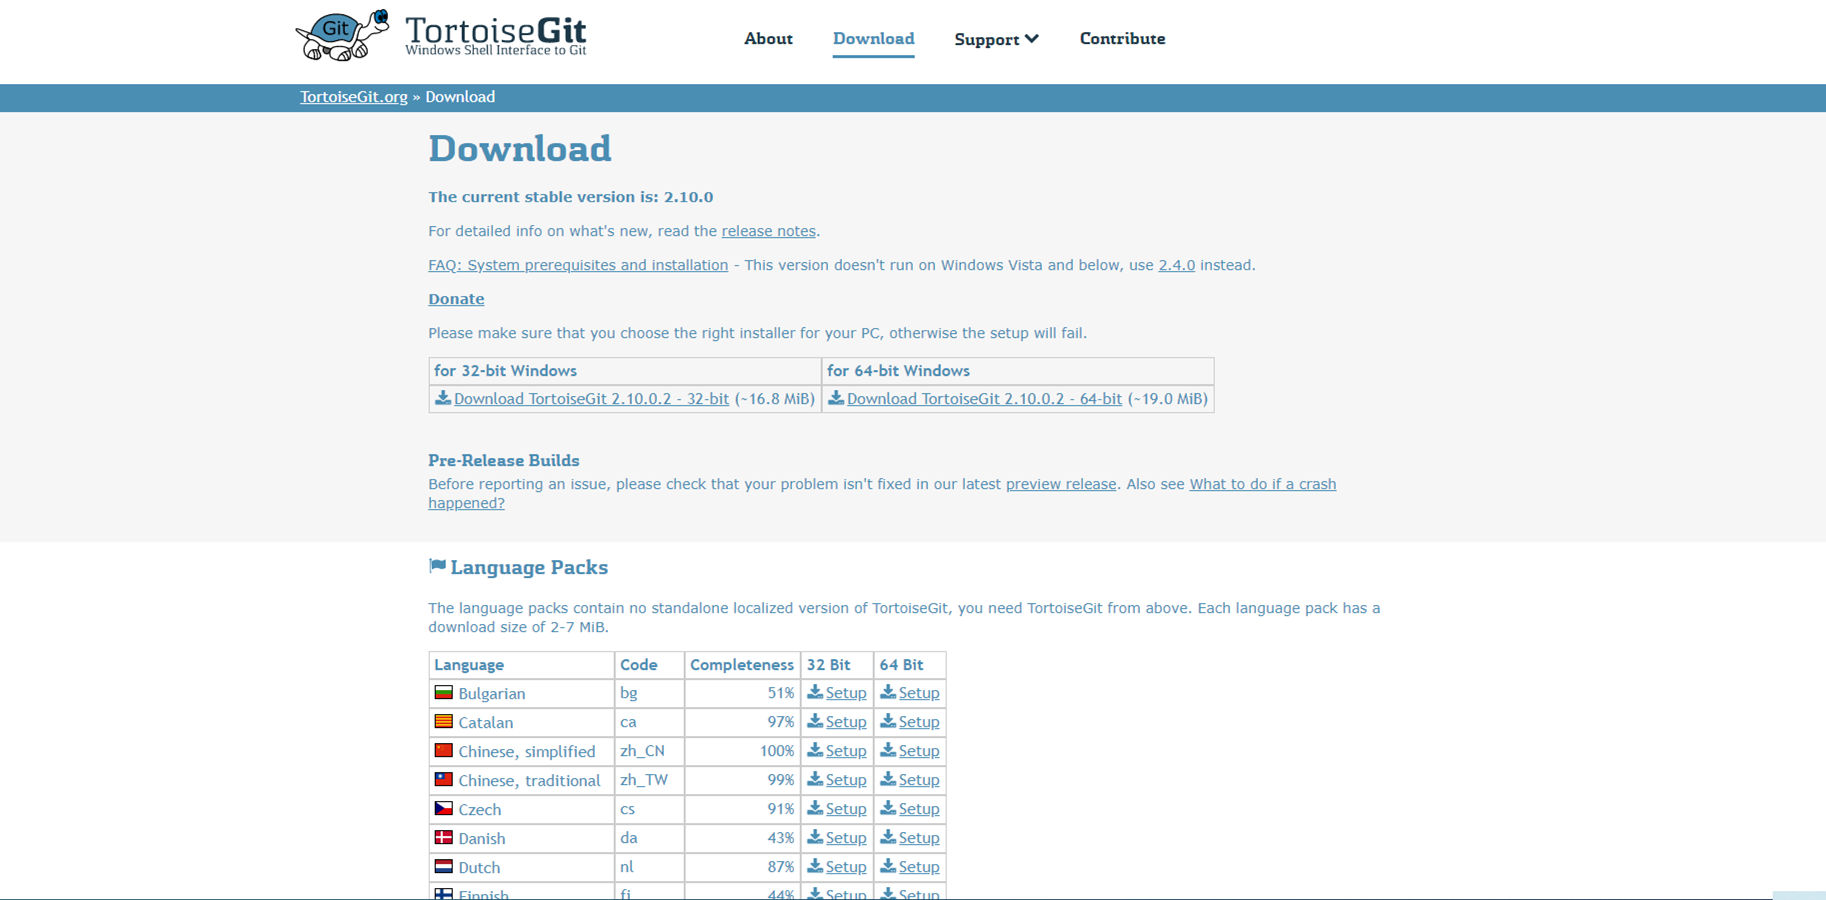
Run the installer and follow the setup wizard to complete the installation.
Optional: Language Packs
TortoiseGit supports multiple languages through downloadable language packs. If you prefer a localized interface, scroll down on the same TortoiseGit download page to find the Language Packs section and install the one for your language.

After installing a language pack, right-click inside any folder and select TortoiseGit > Settings.
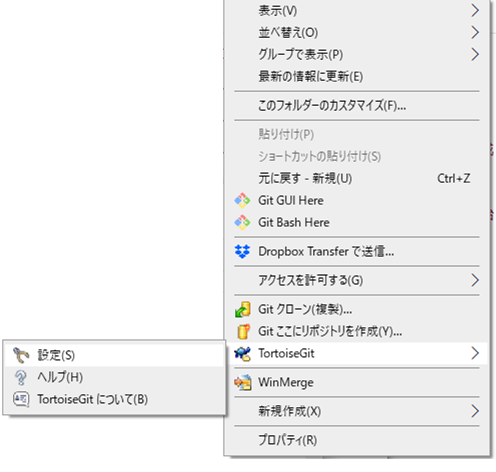
In the settings dialog, use the Language dropdown to select your preferred language.
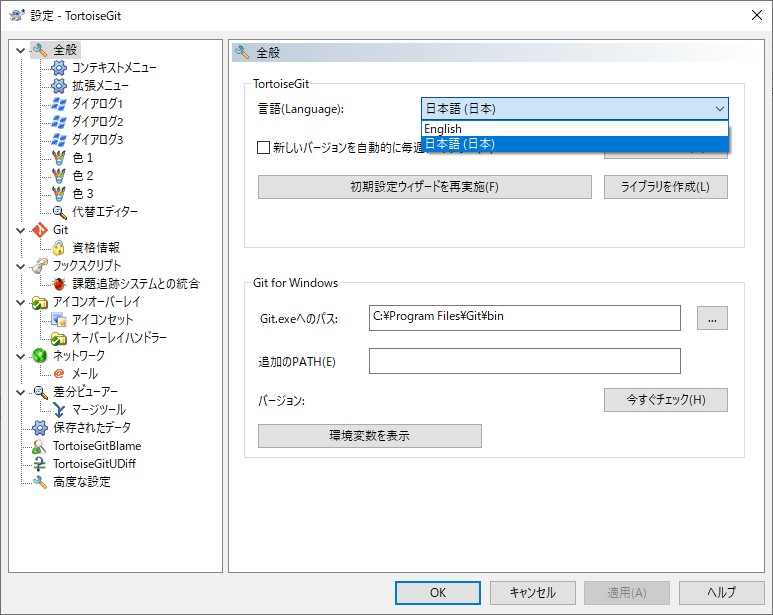
For this guide, we will continue with the English interface, but feel free to switch to whichever language you are most comfortable with.
3. Installing PuTTY and Creating SSH Keys
The tools are installed, but we are not quite ready to connect to GitHub yet. GitHub uses SSH (Secure Shell) to establish a secure connection between your computer and its servers. To use SSH, you need a key pair:
- A public key that you upload to GitHub.
- A private key that stays on your computer.
When you connect, GitHub checks that these two keys match. Think of it like a lock and key — the public key is the lock on GitHub’s door, and the private key is what you carry to open it.
To generate this key pair, we will use PuTTY, a well-known SSH client for Windows.
Installing PuTTY
Go to the PuTTY download page and download the installer (32-bit or 64-bit, matching your system).
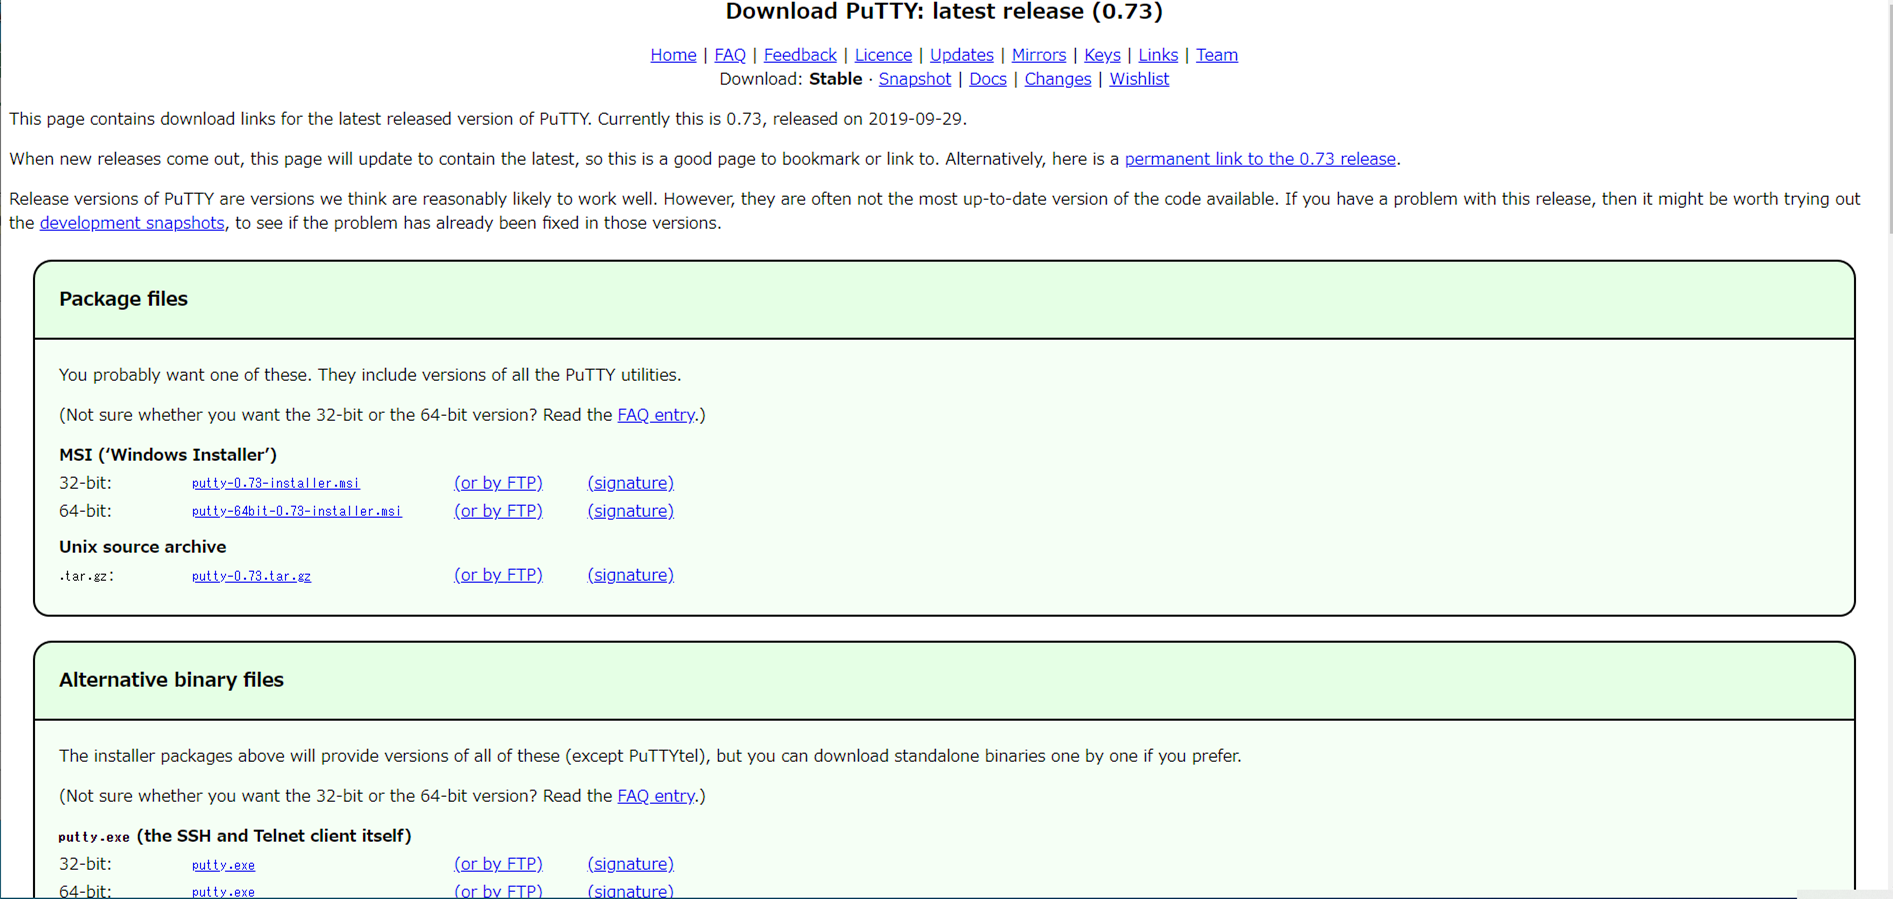
Run the installer with the default settings.
Generating Your Key Pair
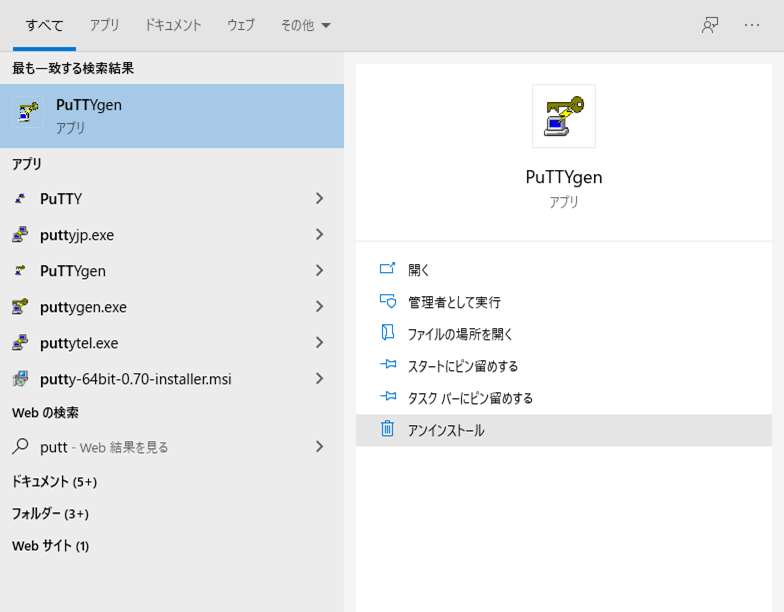
PuTTY comes with a key generation tool called PuTTYgen. To find it, type “PuTTYgen” in the Windows search bar near the Start button.
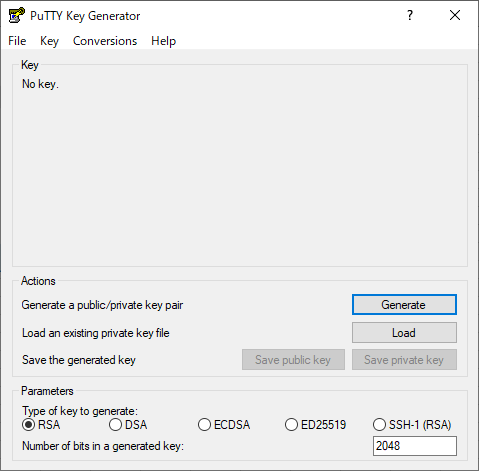
Once PuTTYgen is open:
- Click “Generate”.
- Move your mouse randomly over the blank area — this generates randomness for the key.
After the key is generated:
- Enter a passphrase in the “Key passphrase” and “Confirm passphrase” fields. This adds an extra layer of security to your private key.
- Click “Save public key” to save your public key file (e.g.,
mykey.pub). - Click “Save private key” to save your private key file (e.g.,
mykey.ppk).
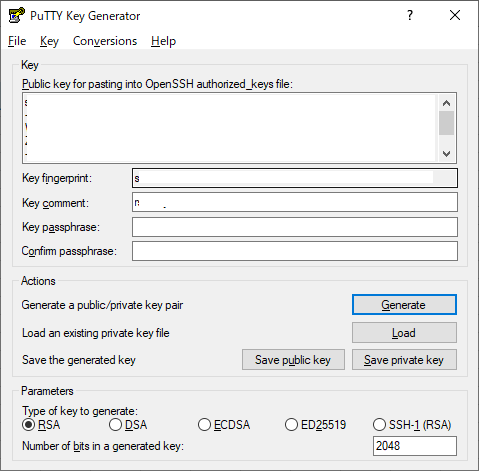
Store these files in a safe location. You will need both shortly.
Registering Your Public Key on GitHub
Now we need to tell GitHub about your public key. Go back to GitHub in your browser:
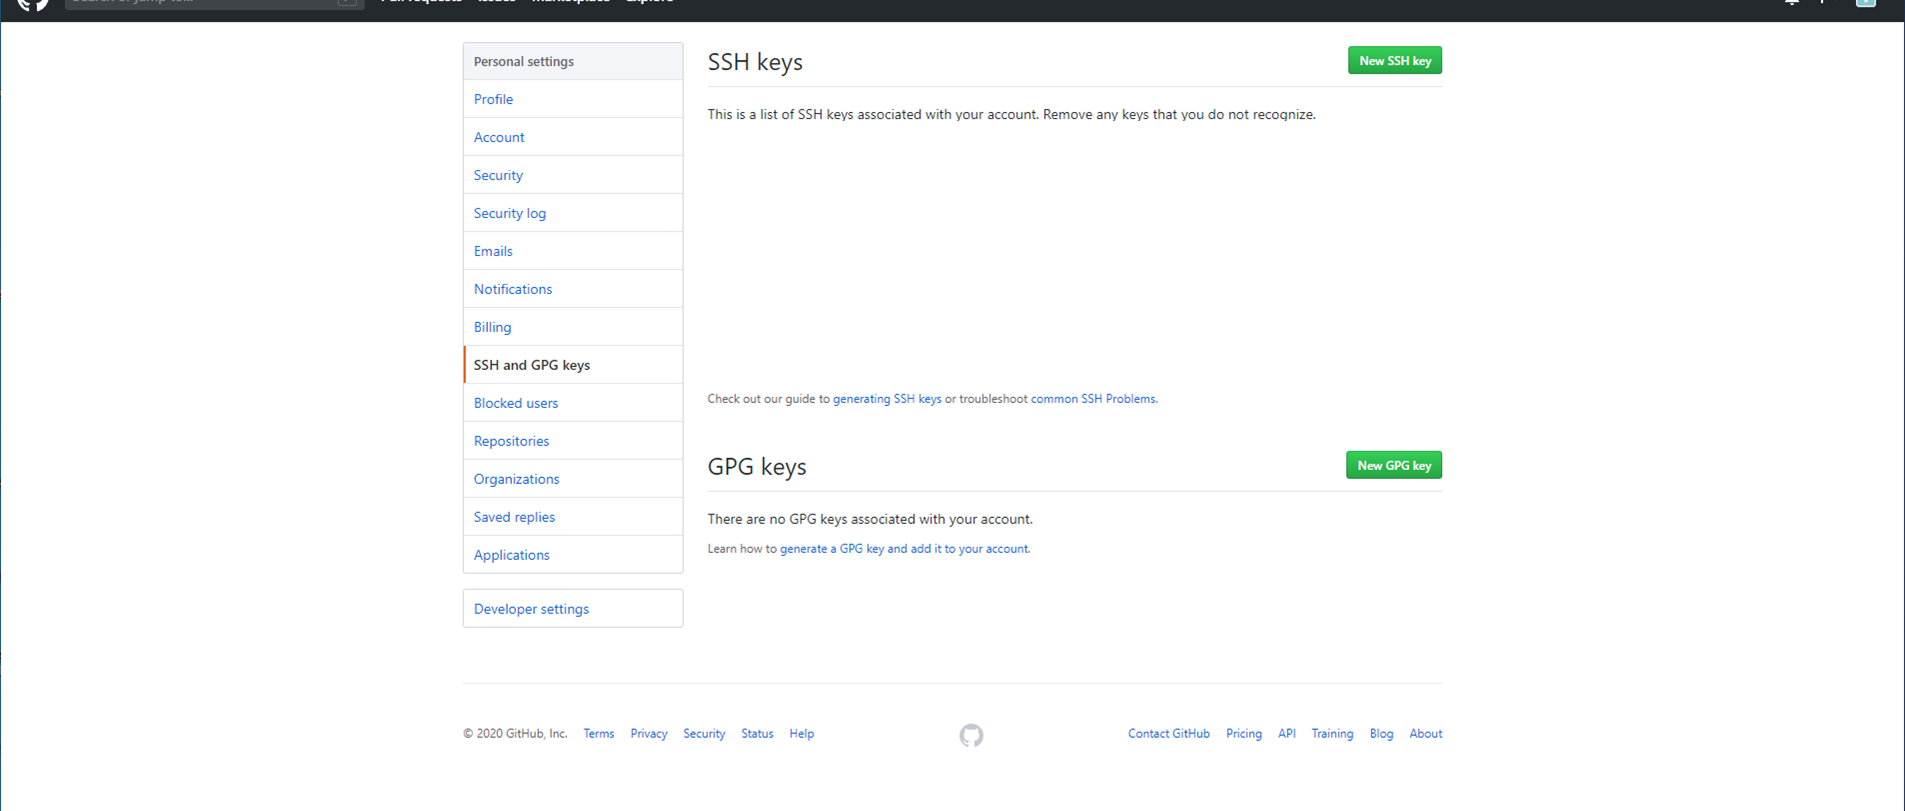
- Click your profile icon in the top-right corner and select “Settings”.
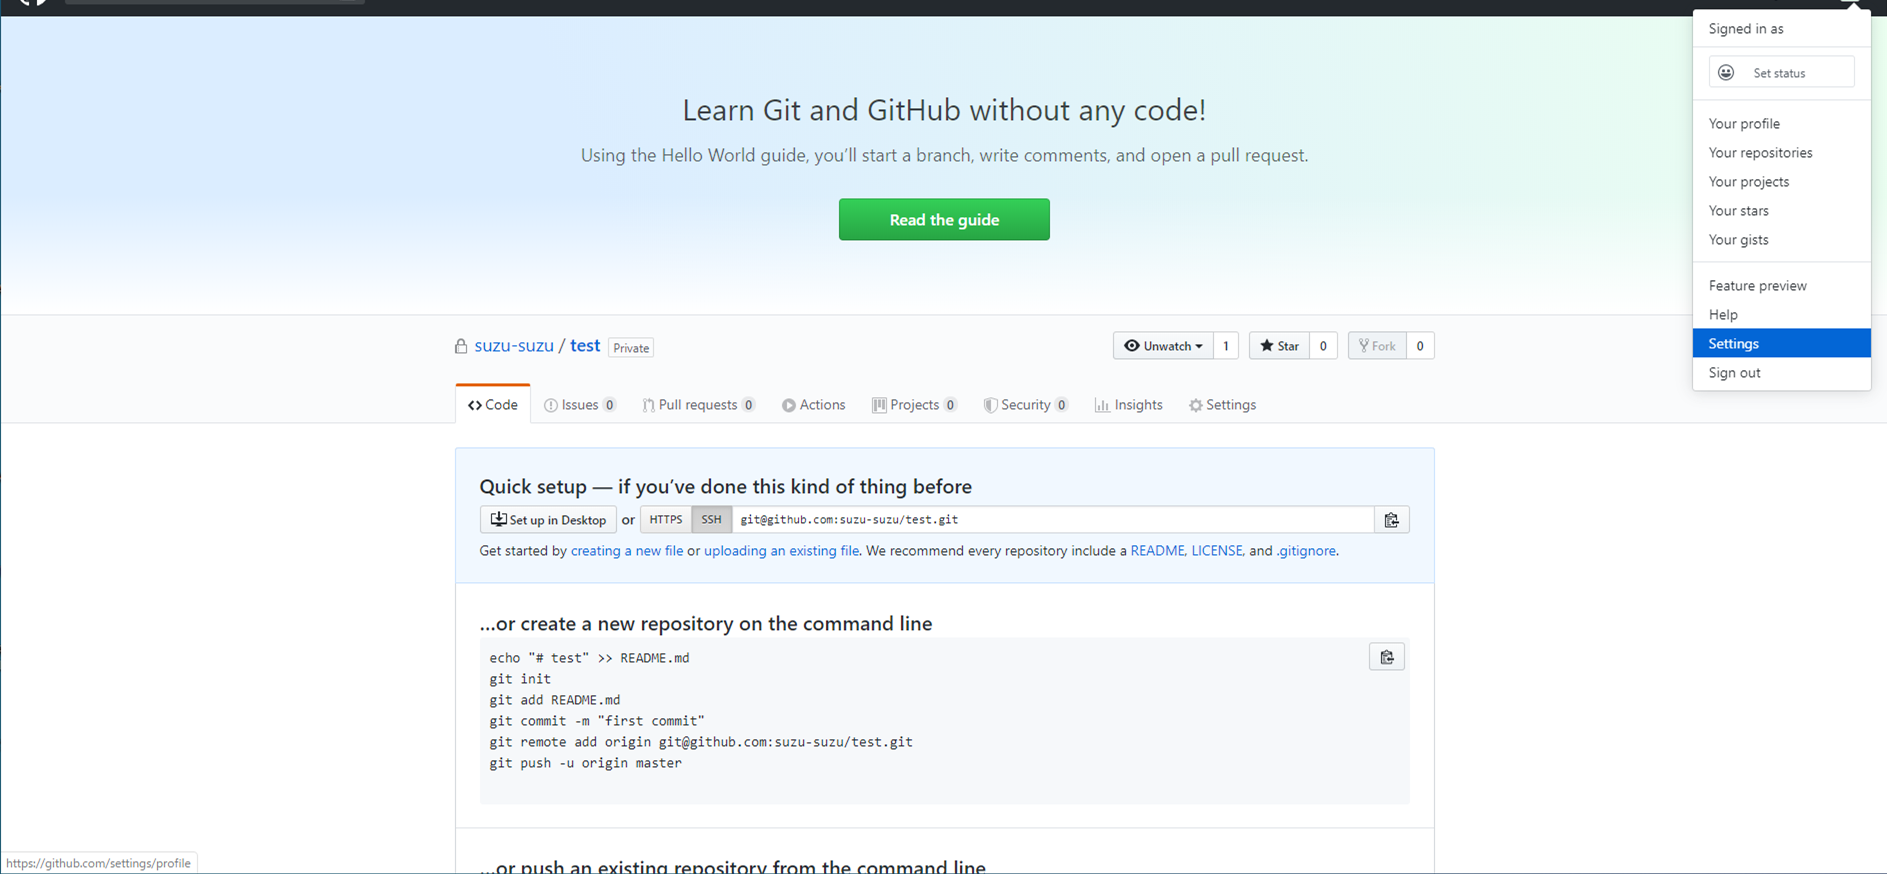
- In the left sidebar, click “SSH and GPG keys”, then click “New SSH key”.
- Enter a descriptive Title (e.g., “My Windows PC”) and paste the contents of your public key file into the Key field. To get the key text, open the
.pubfile with any text editor (such as Notepad) and copy the entire contents.
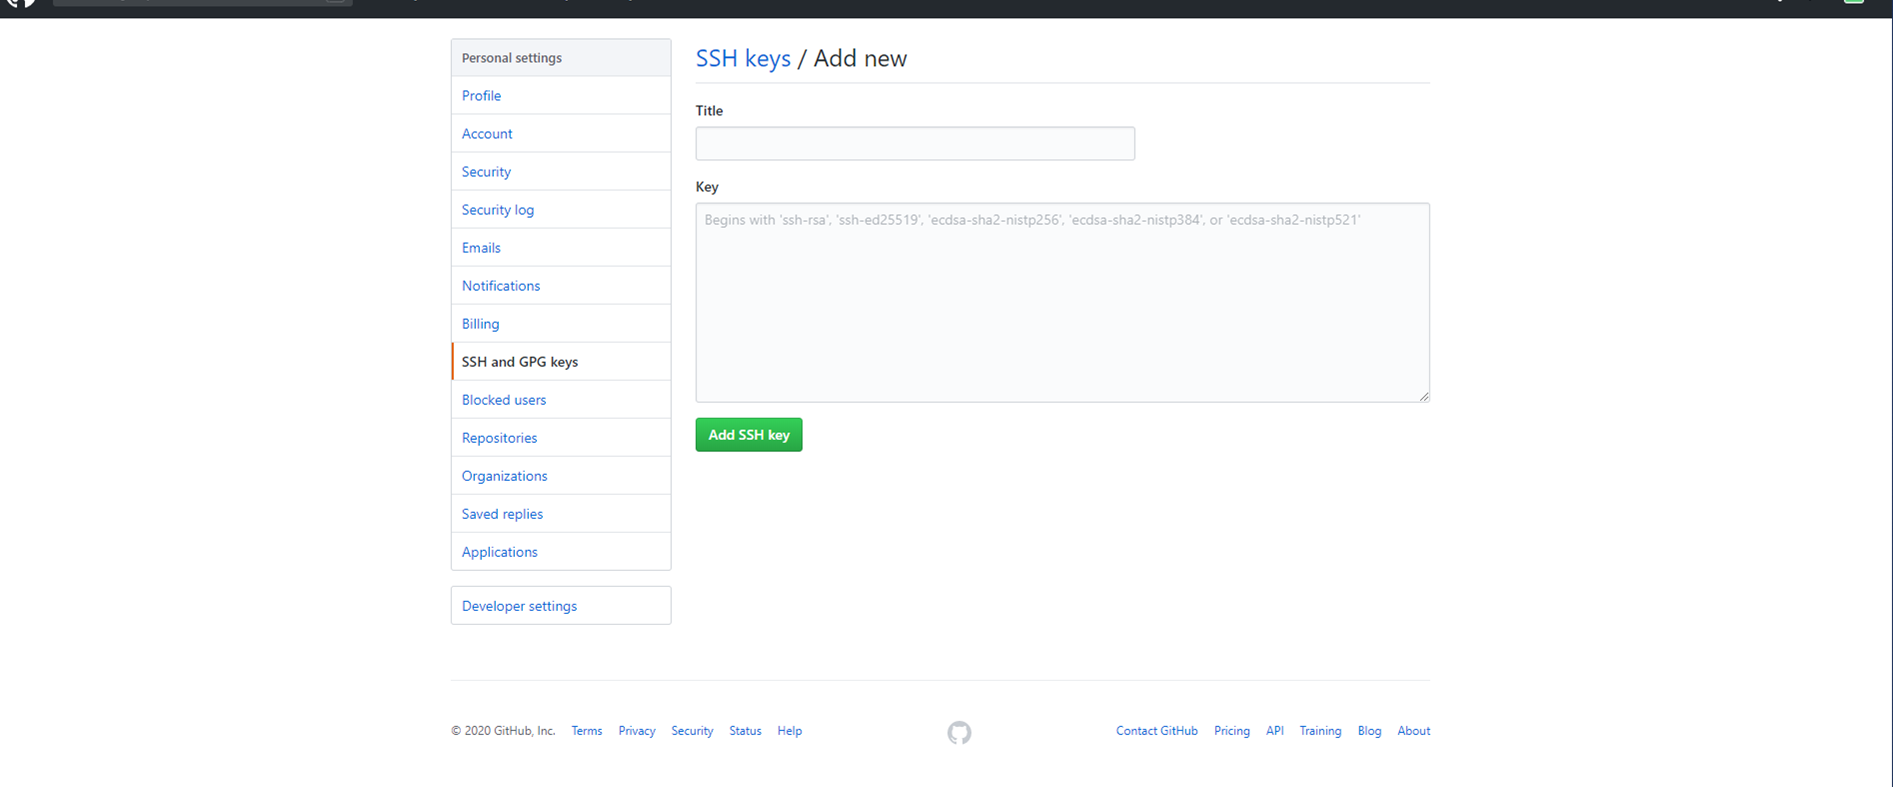
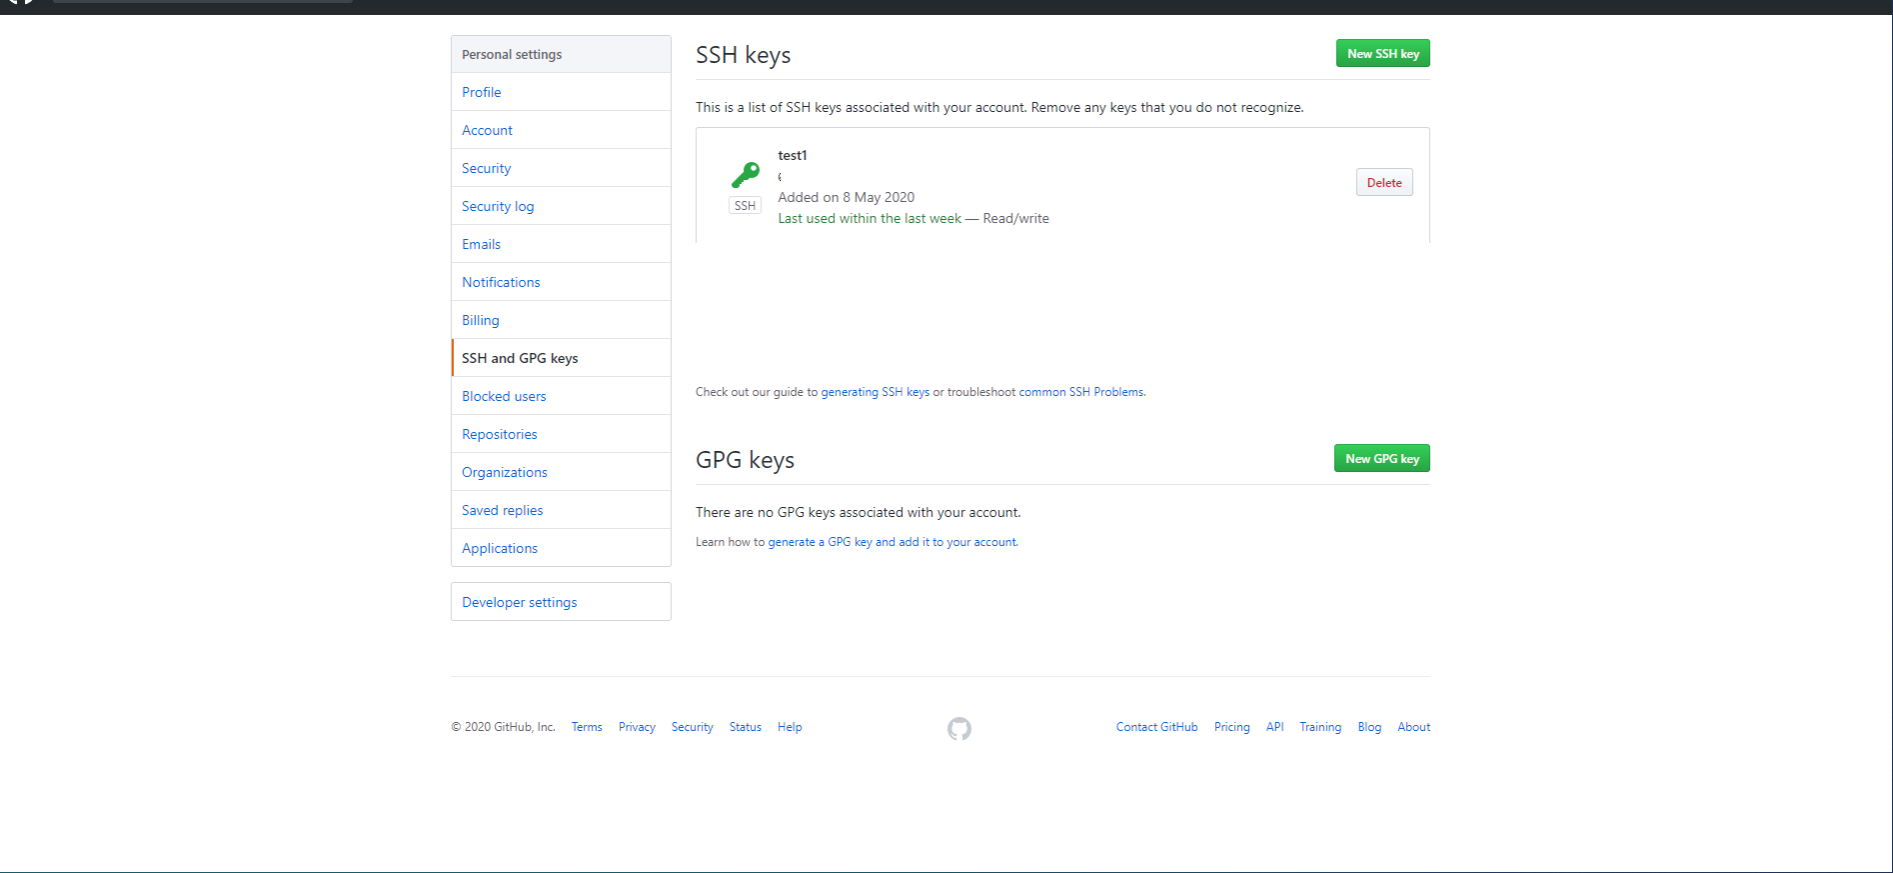
- Click “Add SSH key”. If you see a key icon next to your new entry, the registration is complete.
4. Creating a Local Repository on Windows
With the tools installed and SSH configured, it is time to create a local repository on your machine. In Git terminology:
- Remote repository — The one on GitHub’s servers.
- Local repository — The one on your computer.
You will work with files in the local repository and synchronize changes with the remote repository on GitHub.
Initialize the Repository
Create a new folder anywhere on your computer. For this example, we will create a folder called “test”.
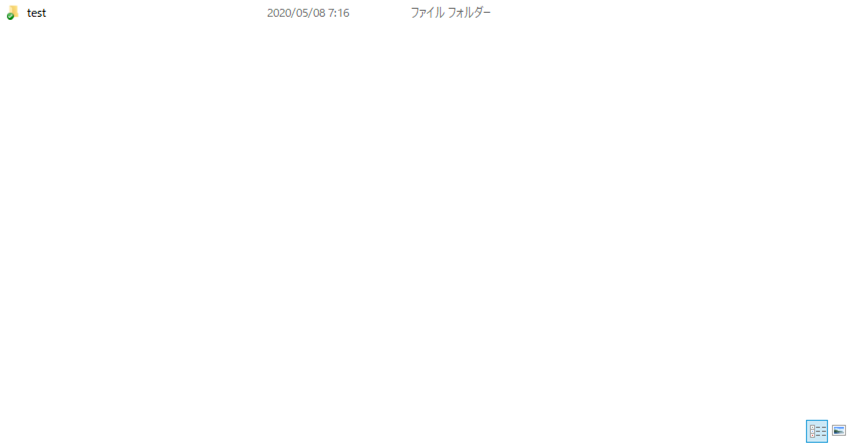
Open the folder, right-click inside it, and select “Git Create repository here”.
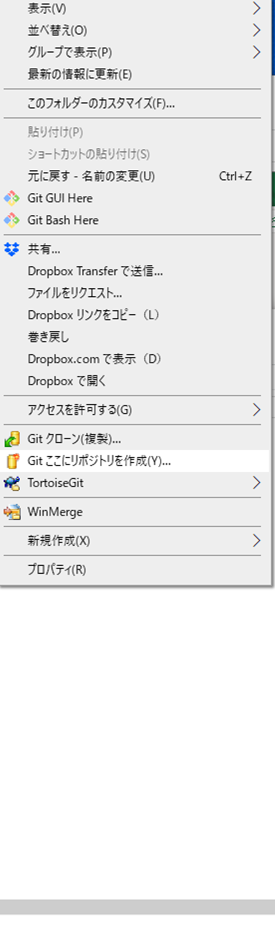
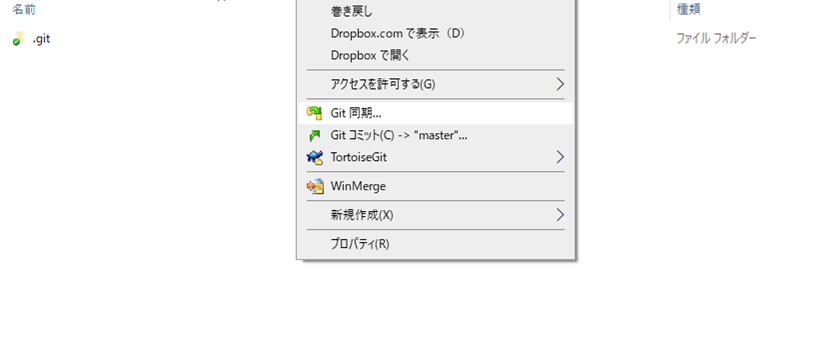
A .git folder will appear inside your directory — this means the local repository has been created successfully.
Connect to Your Remote Repository
Next, we need to link this local repository to the one on GitHub. Right-click inside the folder and select “Git Sync”.
In the sync dialog, click “Manage”.
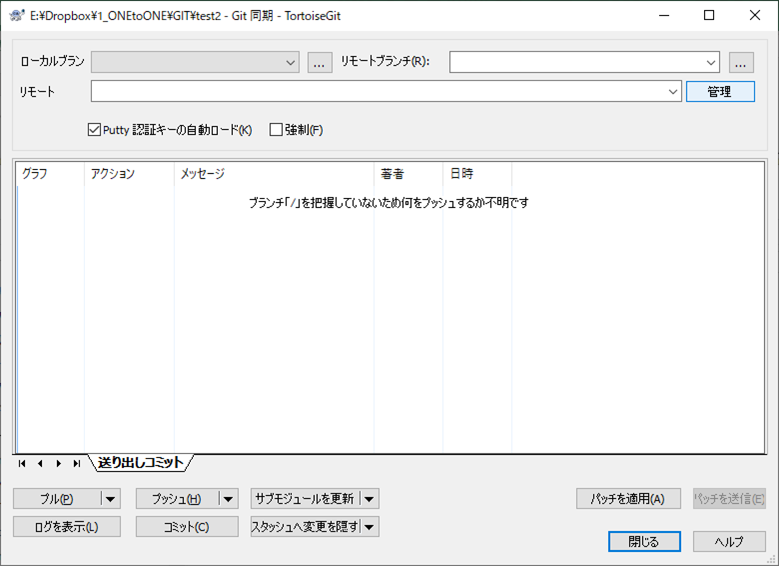
You will see a field for the remote URL. We need to get the SSH URL from GitHub.
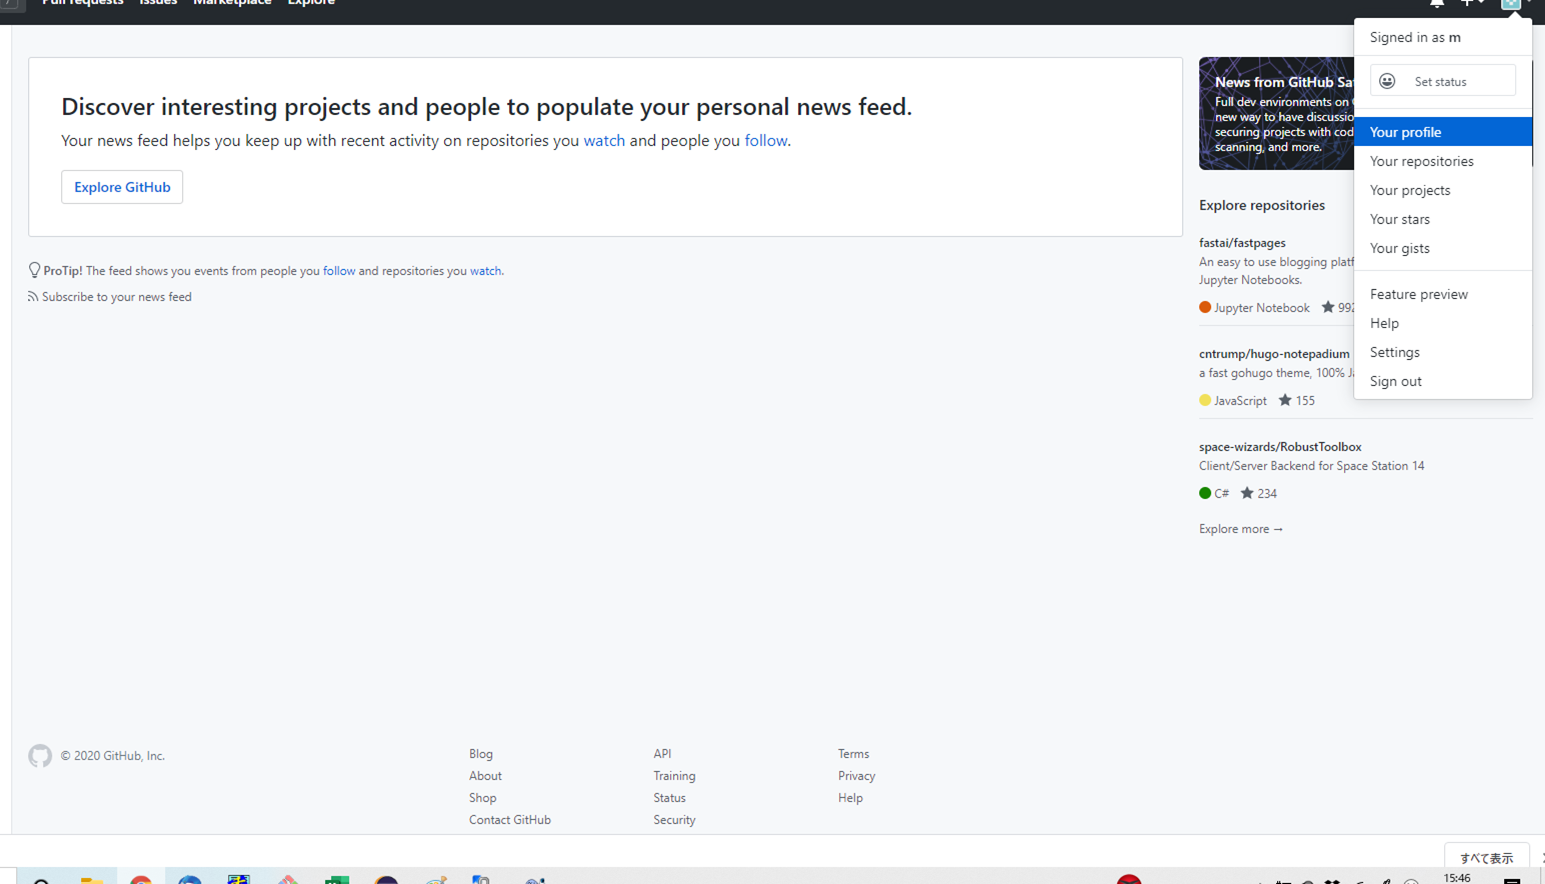
Go back to GitHub. Click your profile icon and select “Your profile”.
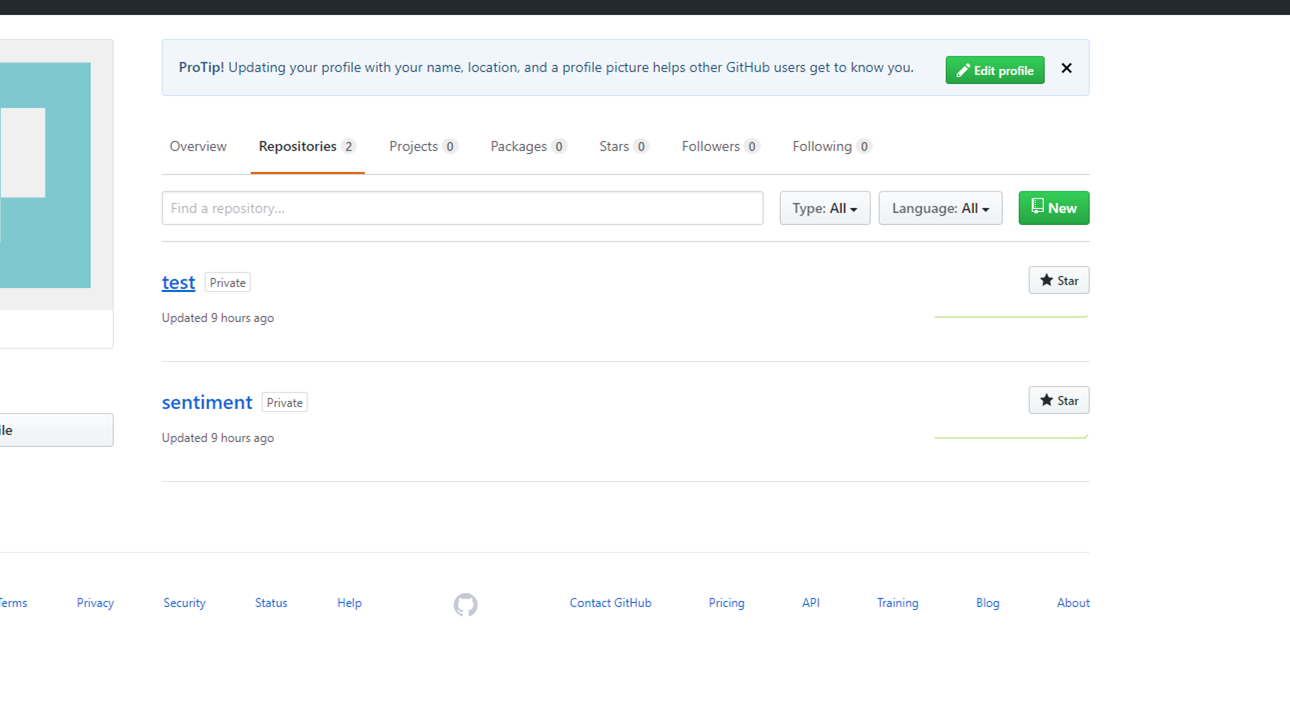
Navigate to the Repositories tab and click on the repository you created earlier.
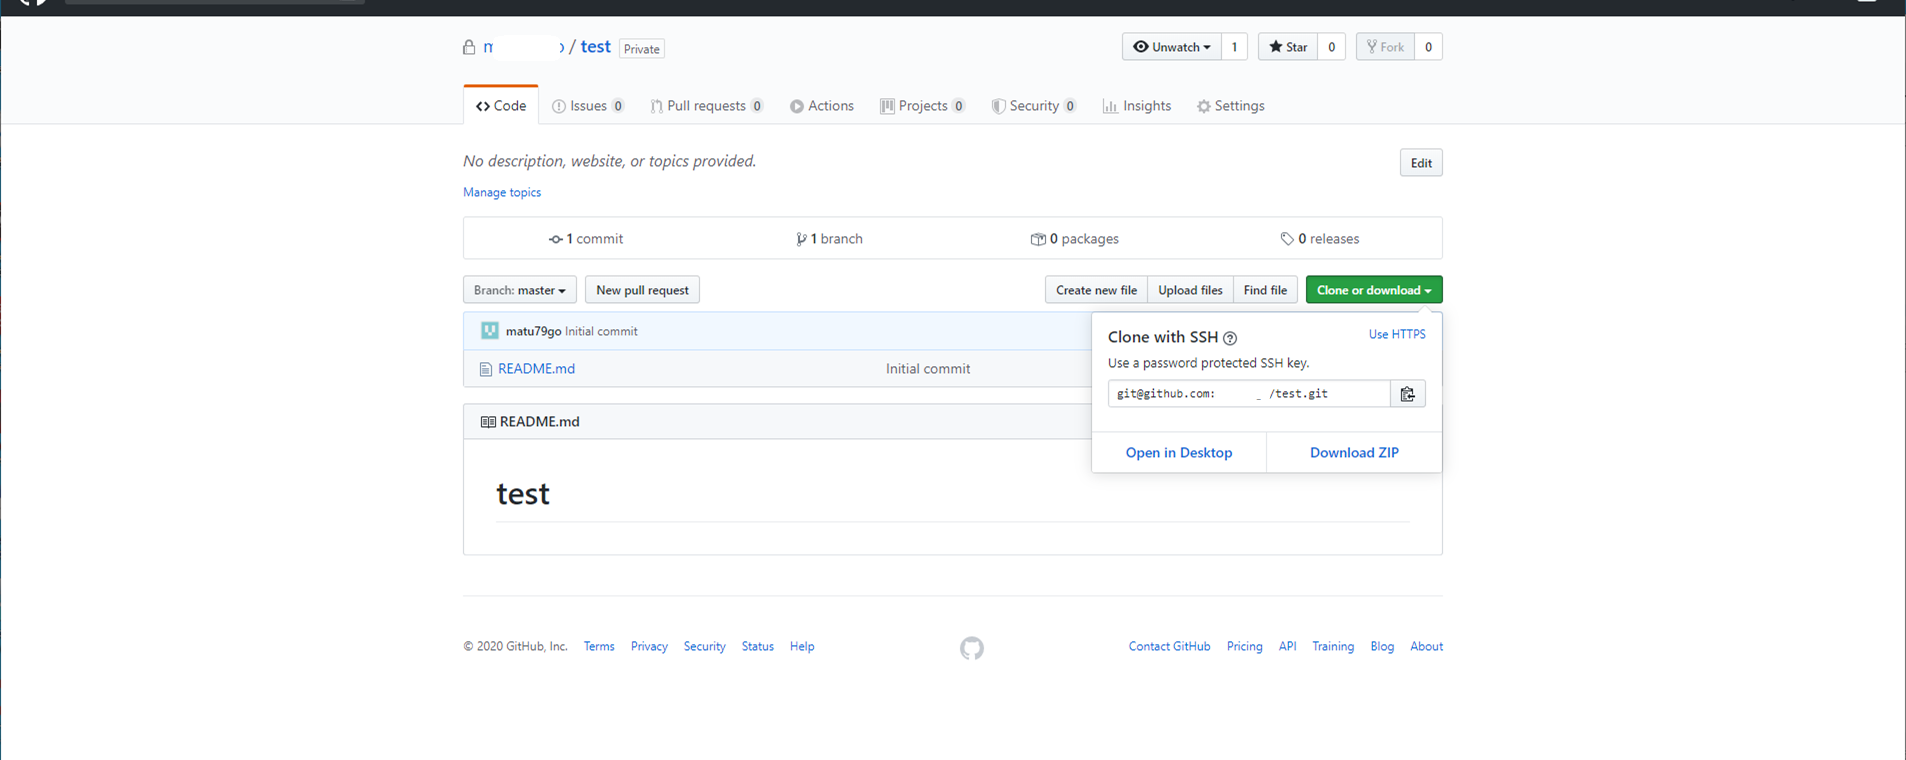
Click “Clone or download” (or the “Code” button in newer versions) and copy the SSH URL — it starts with [email protected]:.
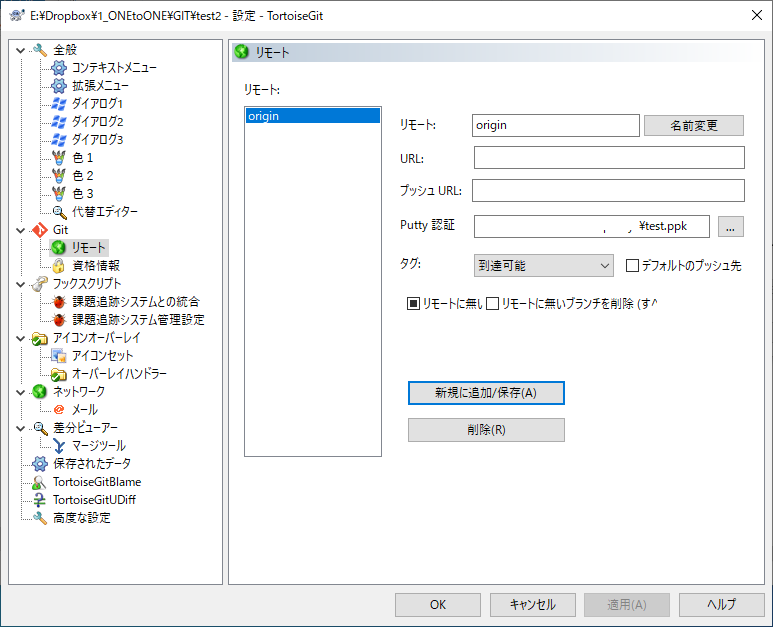
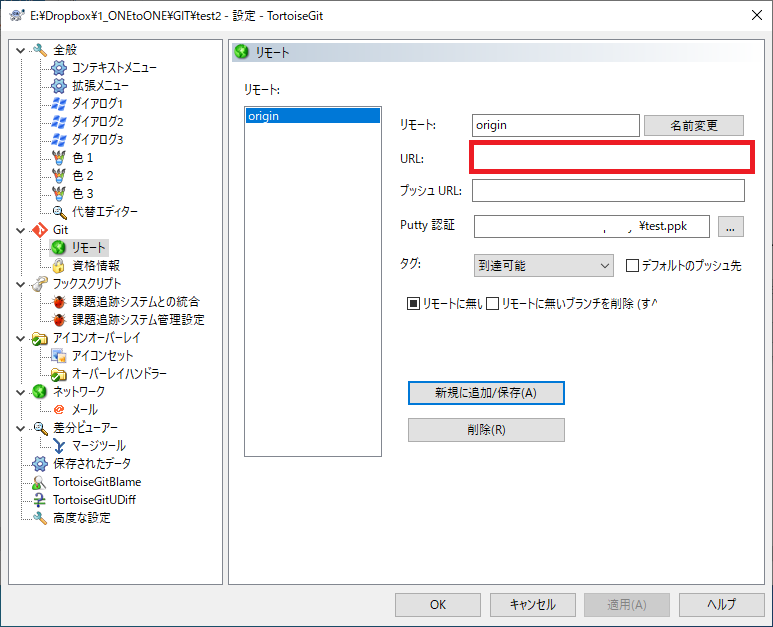
Back in the TortoiseGit remote settings:
- Paste the SSH URL into the URL field.
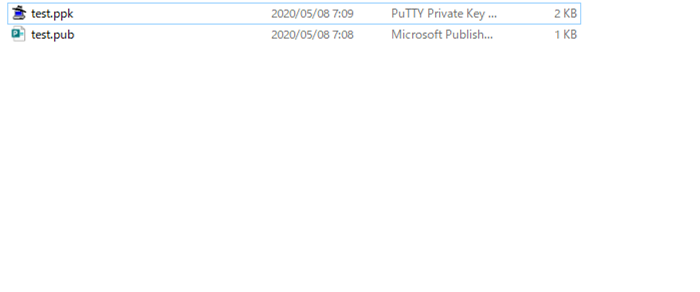
- For PuTTY Key, browse to and select the private key file (
.ppk) you saved earlier. - Click “Add New / Save”.
Your local repository is now linked to GitHub. You are ready to start working with files.
5. Pull, Commit, and Push — Managing Files with GitHub
With everything set up, let us walk through the three core operations you will use every day:
- Pull — Download the latest changes from GitHub to your local machine.
- Commit — Register your local changes in the local repository.
- Push — Upload your committed changes from your local machine to GitHub.
The typical workflow is: Pull (get the latest) > Edit files > Commit (save locally) > Push (upload to GitHub).
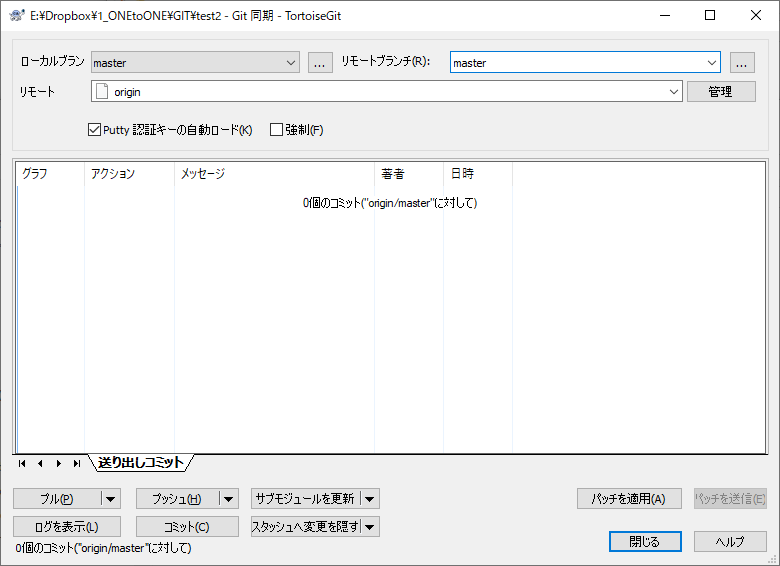
Pull
Right-click inside your local repository folder and select “Git Sync”. In the sync dialog, enter master as the Remote Branch and click “Pull”.

You will see a progress indicator as files are downloaded.
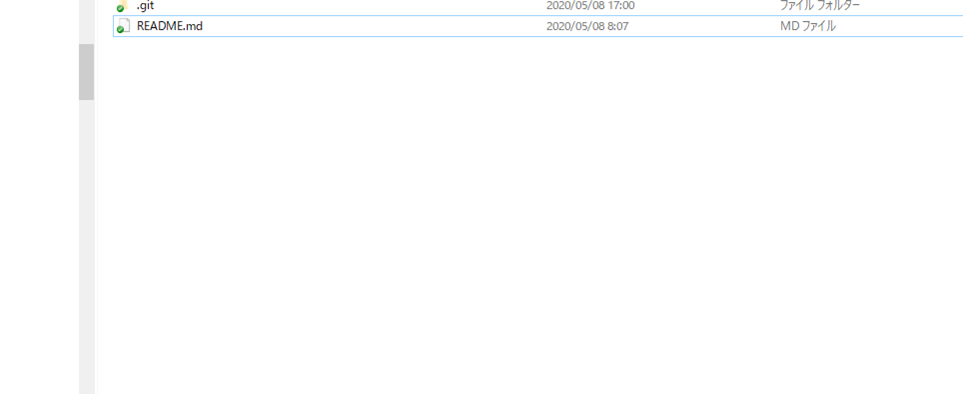
Once complete, you should see the files from your GitHub repository (such as README.md) appear in your local folder.
Commit
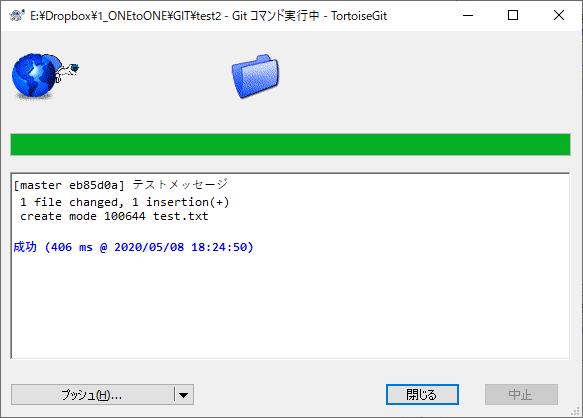
Create or edit a file inside your local repository folder. Then right-click and select “Git Sync”, followed by “Commit”.
In the commit dialog:
- Enter a commit message describing what you changed.
- Check the box next to each file you want to include.
- Click “Commit”.
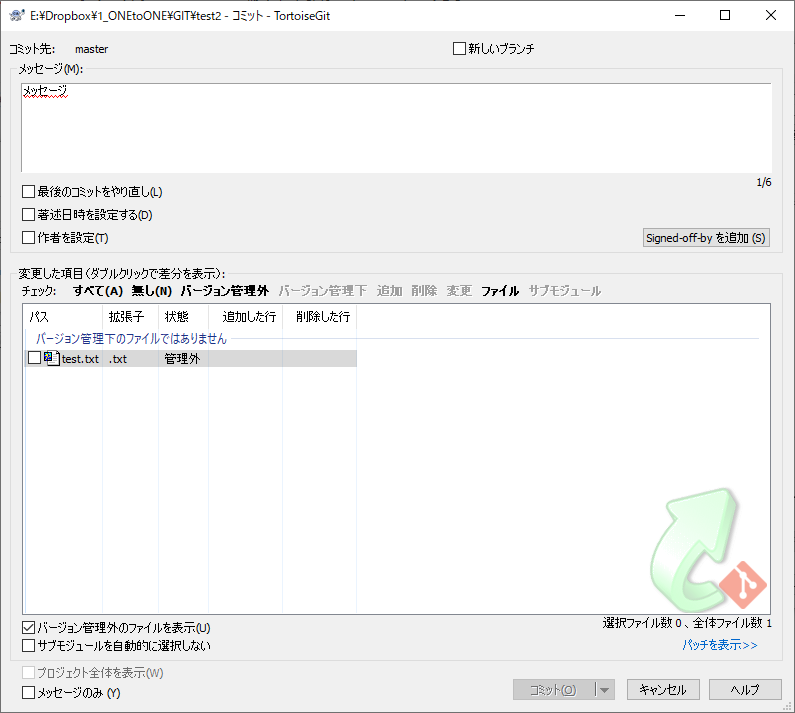
When you see the success message, your changes have been recorded in the local repository.
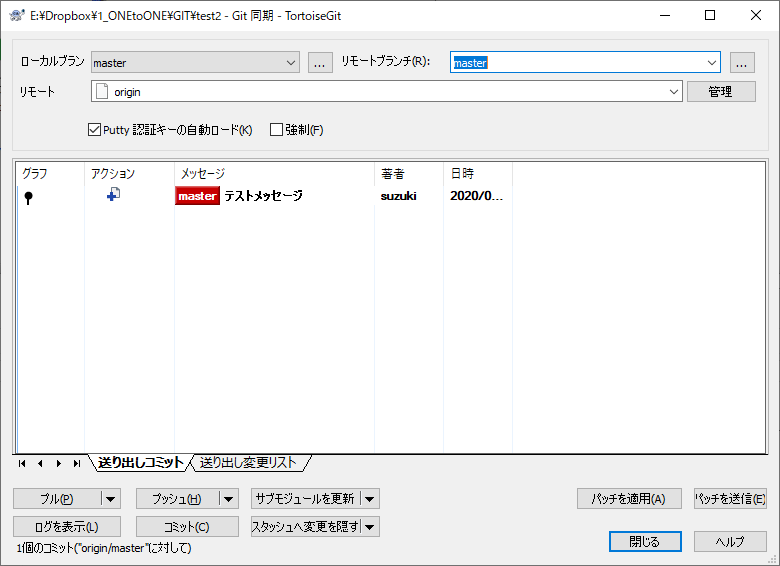
Push
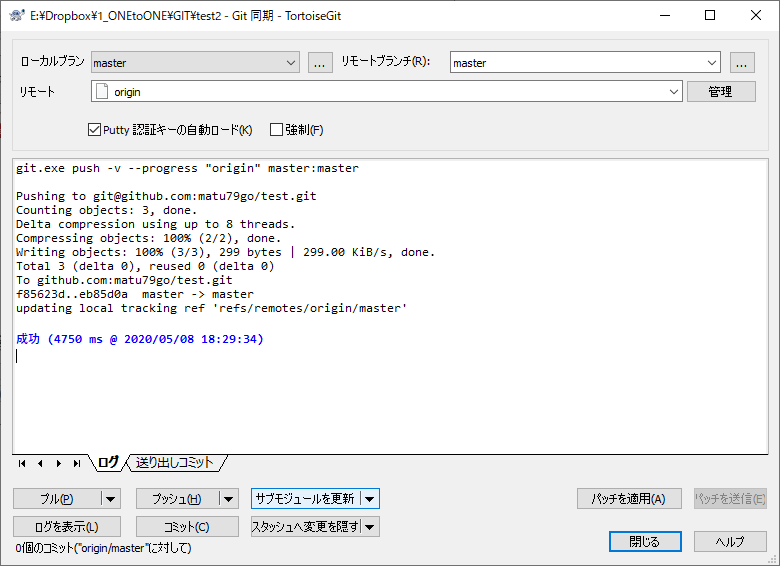
After committing, it is time to upload your changes to GitHub. In the sync dialog, verify that your committed files are listed, then click “Push”.
When the push completes, your files are now on GitHub. You can verify by visiting your repository page in the browser.
Conclusion
That covers the entire setup process — from creating a GitHub account to pulling, committing, and pushing files, all without touching the command line.
Here is a quick recap of what we covered:
- GitHub registration and creating your first repository.
- Installing Git for Windows and TortoiseGit for a GUI-based Git workflow.
- Generating SSH keys with PuTTY and registering the public key on GitHub.
- Creating a local repository and linking it to your remote repository.
- Pull, commit, and push — the fundamental cycle of working with Git.
While this guide focused on the basics, GitHub has many more features to explore, such as branching, pull requests, forks, and issue tracking. The GitHub Documentation is an excellent resource for learning more.
As you become more comfortable with these operations, you may also want to explore the command line interface — it offers more power and flexibility for advanced workflows. But there is absolutely nothing wrong with starting with a GUI, and many experienced developers continue to use graphical tools alongside the terminal.
Thank you for following along, and happy coding.